Activating a Project
- Open the project dashboard (by selecting it from the Projects page)
- Click the “Run” button to enable test takers to take tests
- The project is now in a running state, and anyone can use the shareable test link
Stopping a Project
- Click the “Stop” button on a running project to prevent new and existing test takers from using a test link
- Click to confirm to verify the change
Sharing Test Links
Self-Enrollment Link
- Click “Share Test” button
- Share the link or QR Code to allow test takers to self-enroll
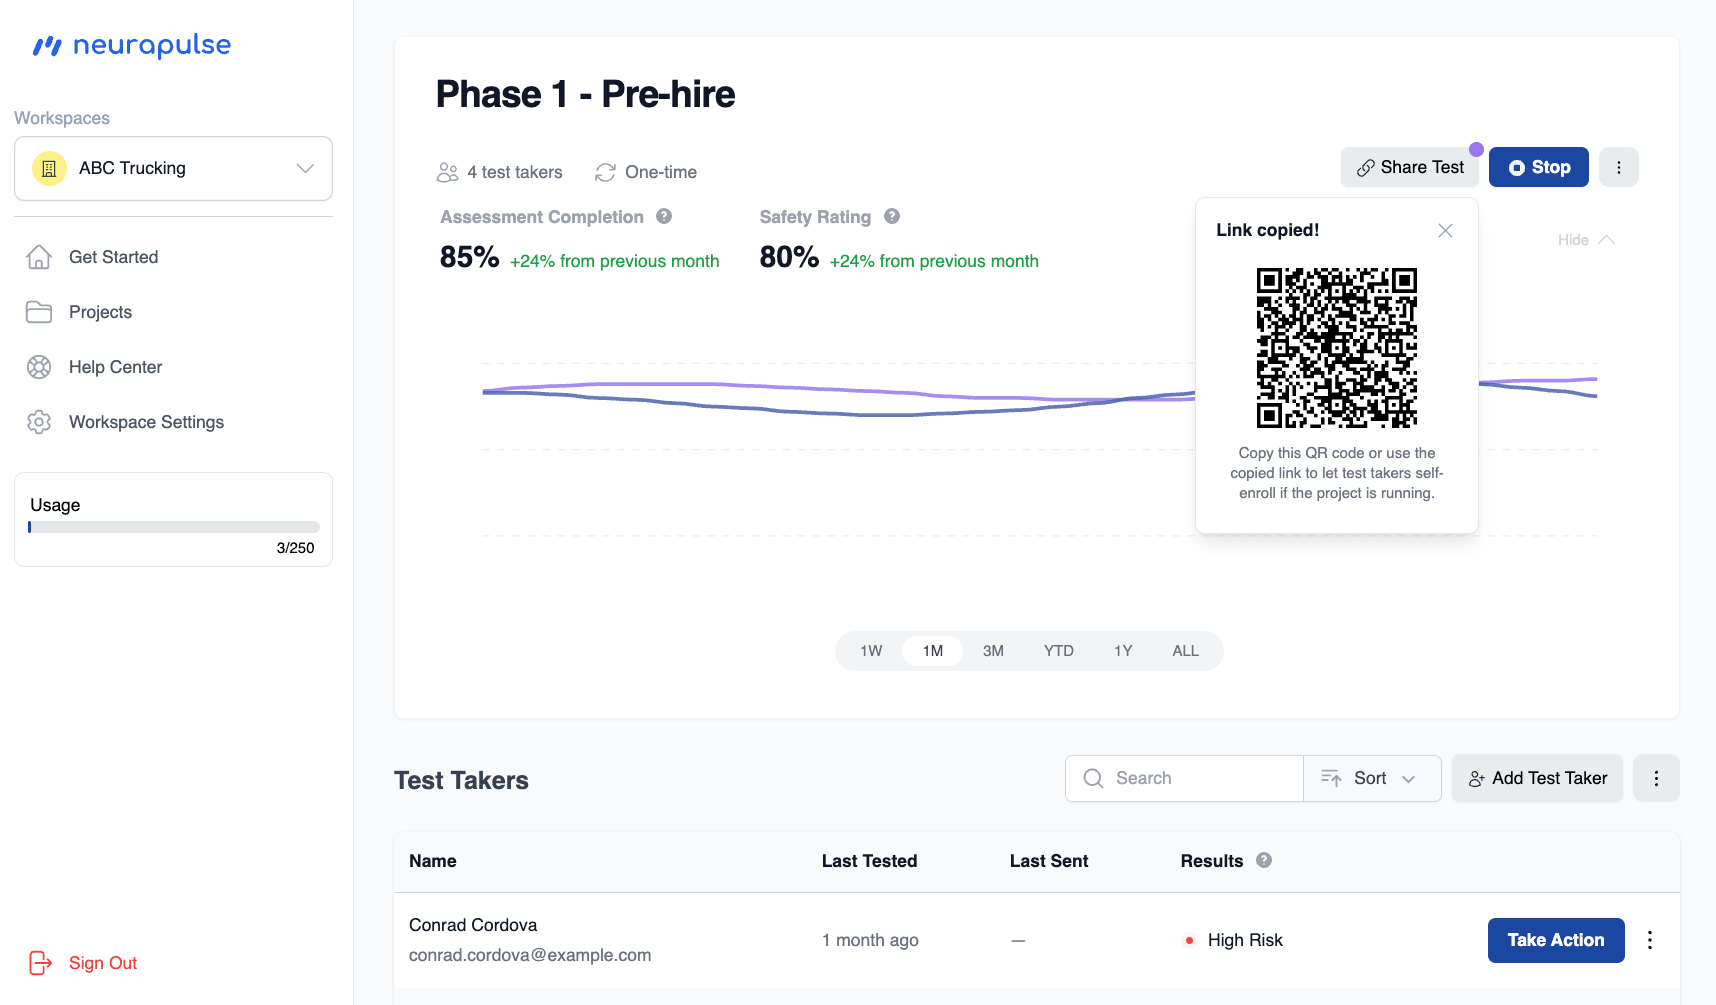
Test takers can scan the QR code to access a test in the same way a link is
clicked. To share this QR code, you can right click it and save the image to
your computer. This allows you to attach it to emails, text messages, or other
communications.
If a test taker does not receive a confirmation code when they are self
enrolling for a test, encourage them to check their junk email folder.
Sending a Test Immediately
Send a test to a specific test taker immediately from the project page.- Click the three ellipses button in the test taker table row for that test taker.
- Click “Send Test”

Copying a Test Link for Your Own Communication Channel
If your organisation uses its own messaging system (SMS platform, HR portal, intranet, or similar), you can copy a direct test link for a specific test taker and paste it wherever you need.- Click the three ellipses button in the test taker table row for that test taker.
- Click “Copy Link”.
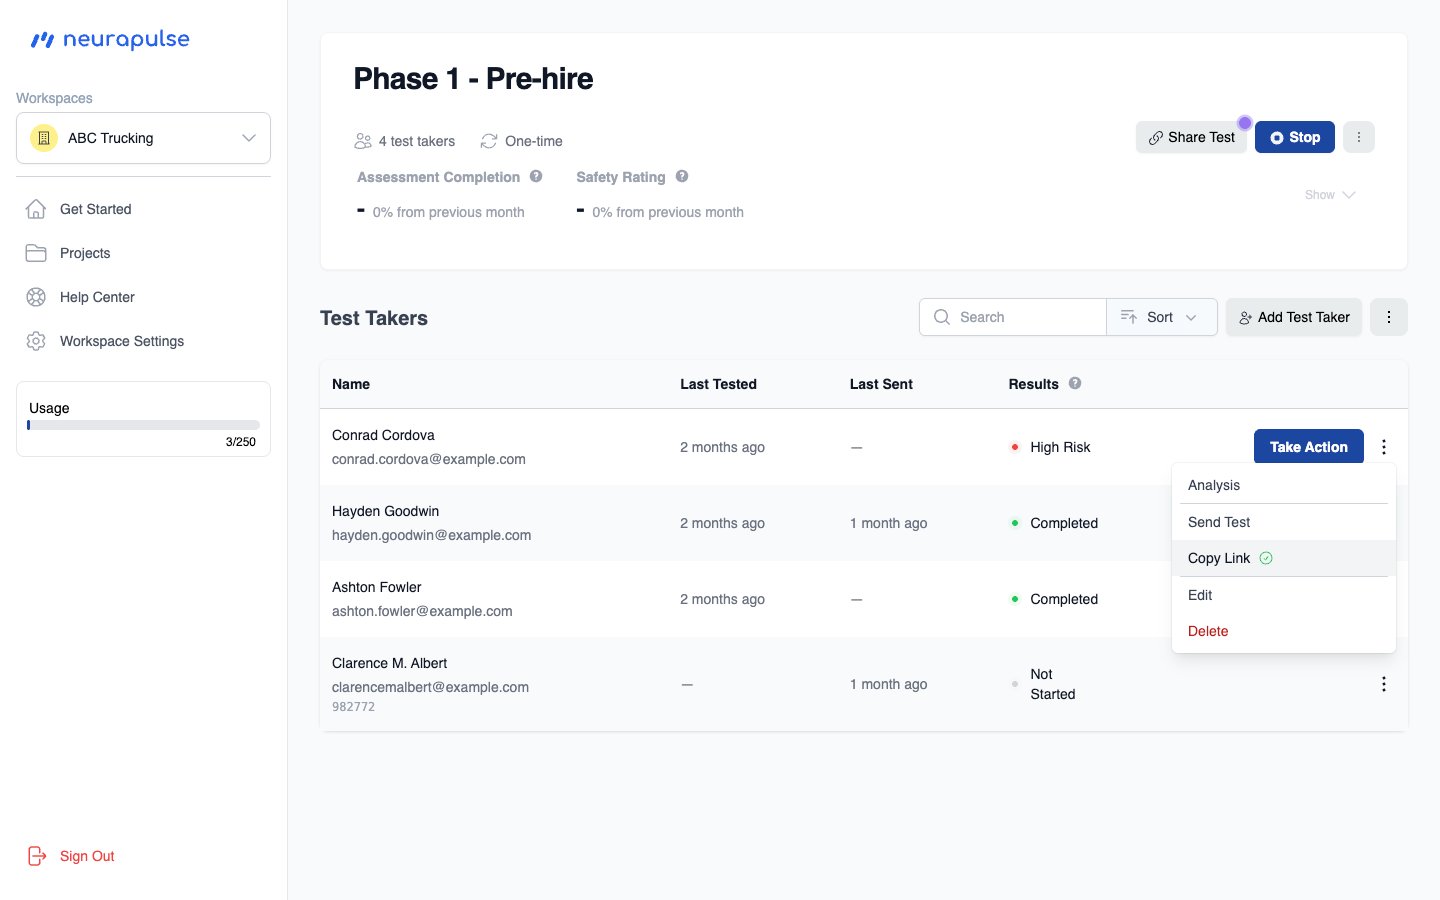
- The link is now on your clipboard. Paste it into your communication system.
“Copy Link” and “Send Test” are both available from the same menu. Use “Send Test” if you want Neurapulse to deliver the invitation by email or SMS. Use “Copy Link” if you want to send the invitation yourself through a different channel.
Managing Test Access
- Active Projects: Test links are valid when the project is running
- Inactive Projects: Test links are disabled when the project is stopped